
It's summer, which means it's time to start sewing for CHRISTMAS!

I celebrated my birthday yesterday, spent the day sewing and hanging out with family. All day long I kept thinking "I want to give away a free pattern for my birthday!". Unfortunately I never got around to it (where does the time go!). SO today I am happy to blog a free Christmas pattern! Why Christmas? Because I LOVE Christmas and I LOVED making this super cute Christmas quilt. This is a SUPER easy pattern and great for beginners!
Here is what you will need
2 1/4 yards White fabric (or off white if you're into that)
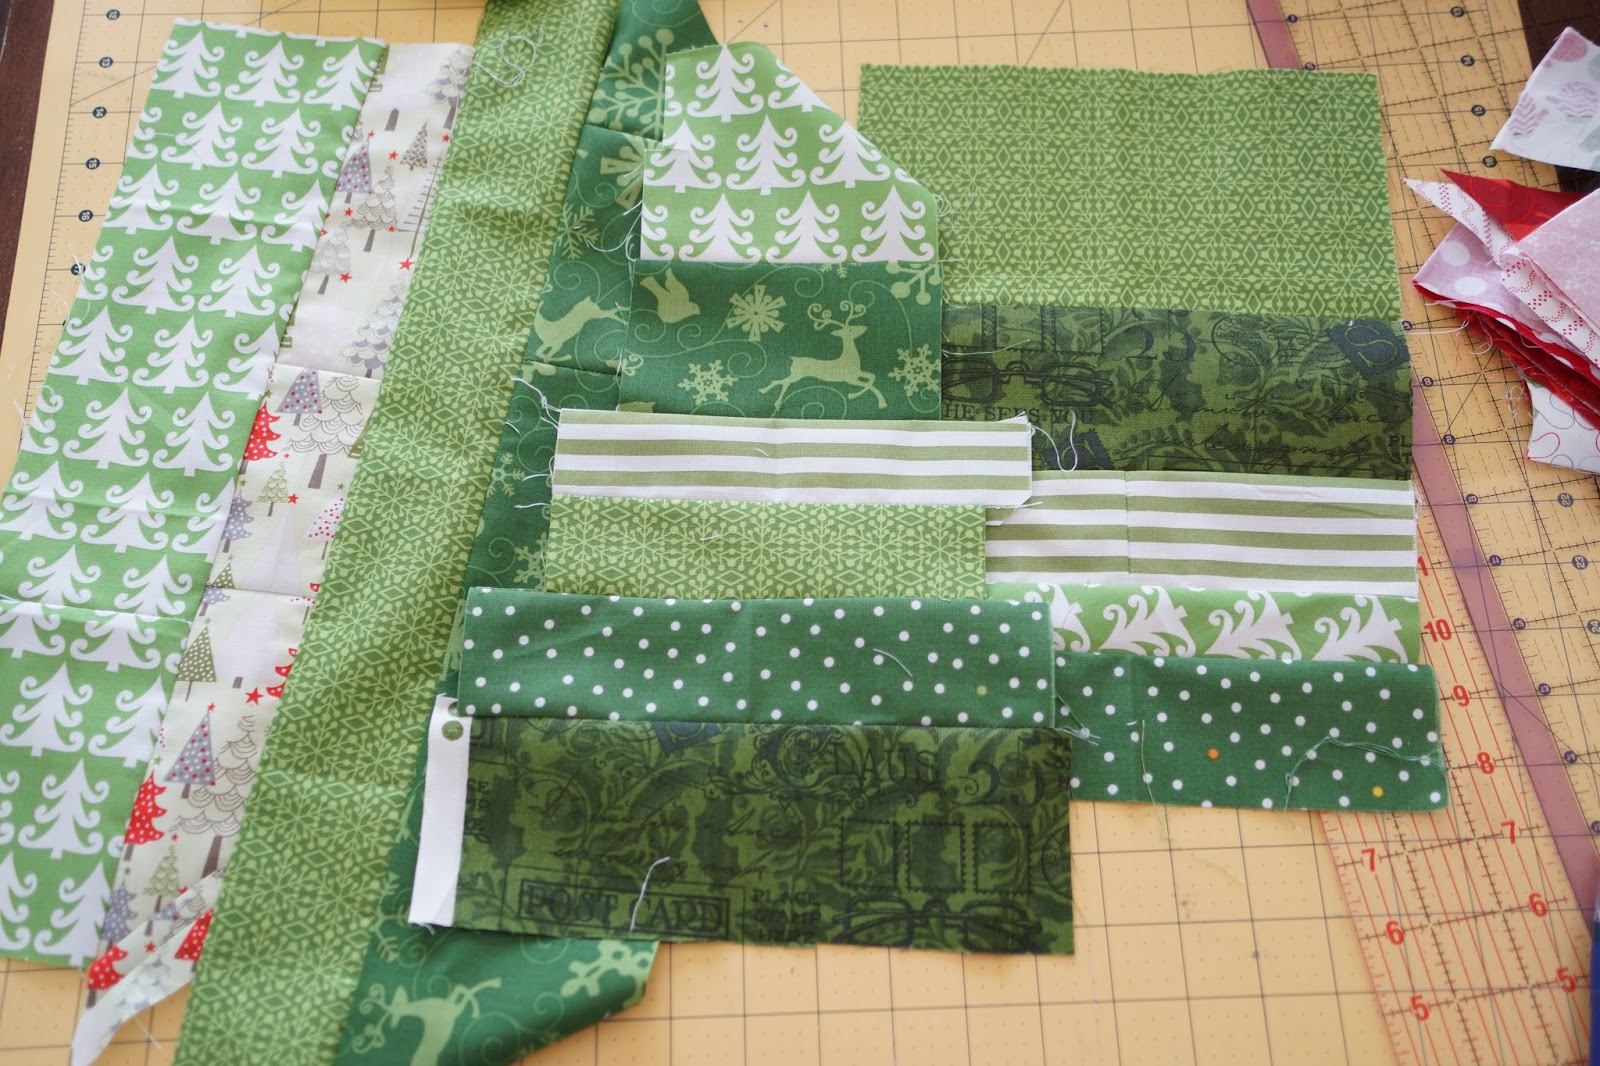
1 1/2 yards of Christmas prints (fun fact, all my prints were scraps I already had, and a couple neglected fat quarters)
A 6 1/2 inch triangle ruler (I borrowed my mom's, she has the easy angle triangle)
2 fat quarters for the trees (or just sew scraps together like me!)
26 inches of rick rack (if you're into that, I am!)
Double sided interfacing & batting (enough for your Christmas trees)
*all seams are 1/4 inch
*all seams are 1/4 inch
Step 1- Begin the tedious process of ironing all your fabric (yes it takes forever, but don't skip this step! Otherwise your measurements and cuts will be off)
Step 2- Begin the other tedious process of cutting out all the triangles! The easiest way to do this is to cut off a strip of fabric that is 6 1/2 inches wide.

Then lay the ruler down, and cut out your first triangle. You will be cutting them out as 6 1/2 inch triangles

Flip the ruler over and cut out your second triangle. This should waste the least amount of fabric possible.

Oh don't forget to cut out all the white triangles too!!! Yeah, cutting is SO much FUN!
(my white strips before they became triangles)

You will end up with 74 Christmas triangles and 74 white triangles when you're done cutting
(IF you do not want a white panel in your quilt you need to cut out 90 squares, 180 total. 90 white. 90 print)
Step 3- Jump for joy because you completed steps 1 and 2. Then begin the tedious process of sewing all your squares together.
This is how you will sew your triangles together. You will have one triangle with a point, and one with out. See picture below because that was a HORRIBLE way to describe that.

Still confused? I know I am, so here is another picture with the triangles lined up and ready to sew! Don't forget, you're sewing them RIGHT SIDES TOGETHER!

Start the sewing!

Remember to press your seams to set the seam, then open your triangles and press the seam to the dark side. Always remember the wise words of Darth Vader!

Step 3 1/2- Start chain sewing everything together because it's WAY FASTER (I felt like that sort of needed its own step because I LOVE chain sewing. You get into the zone, and pretty soon all the triangles are sewn together)
Fun disclaimer- I did not sew these triangles together, my mom did them all!!!
Thanks mom!

After your mom sews your triangles together (or after you sew them) you will end up with a big pile of Christmas squares.See what happened there, the triangles became squares!
. They look so pretty and festive!
Your finished squares will be 6 1/2 inches by 6 1/2 inches and you will have 74 of them

Step 4- Lay out your quilt, and cut out the white panel (if using).
The white panel will be 24 1/2 inches by 24 1/2 inches

Step 5- Take a break and admire how festive your quilt is! I love the traditional colors.
Step 6- Get back to work and make your trees.
I wanted my trees to be triangles since I was making a triangle quilt, but I think any trees would look cute. Or maybe some presents, or a Santa, or whatever you fancy.
First, I drew my tree sizes. I have a 16 inch, 14 inch, and a 12 inch. Then I cut these out (using paper scissors not my precious sewing scissors!)

Second, I sewed a bunch of scraps together and made sure my trees would fit on them
Third, I cut my trees out using my templates.

Fourth, I stole some fusible interfacing from my mom and cut it along with batting out, the size of my trees.

After you have everything ready,place the interfacing on the wrong side of your tree and iron (DO NOT let the interfacing get on your iron, read all the instructions prior to using). This is double sided interfacing. You will iron down the side with out paper, keep the paper on for now. Make sure you iron on the WRONG side of your fabric.

Then peel the paper off and iron the tree onto your batting

Use some scraps to make tree stumps.
Place trees where you want them on your white square. Stitch around trees and trunks.

Add stars and rick rack (optional)

Step 7- Now that you have all your squares and tree block you can sew your quilt together!!!
Step 8- Add a 2 1/2 inch border around the entire quilt.
Your finished quilt will be 58 inches by 64 inches

Optional Step 9-Add a cute Christmas label
I love this feature on my new sewing machine!

This pattern is pretty self explanatory, but I made a quick reference for the those of us who like a visual. Please note that this says the finished quilt will be 54x60 that is BEFORE you add the 2 1/2 inch border all around.

p.s. you may have noticed that this quilt has yet to be quilted and bound! I am vacillating between quilting it on my machine, or long arm quilting it.... Once it's complete I will upload the finished pictures.
I can't decide if I enjoy making Christmas quilts, or Halloween quilts more! Which is your favorite holiday to sew for?
Stayed tuned for my Haunting Hexie Halloween quilt!
See my completed quilt here
EASY TRIANGLE CHRISTMAS QUILT
Thanks so much for this cute Christmas pattern! it's going on my to-do list (maybe for next year!) Happy Belated Birthday!!
ReplyDeleteGood luck! It comes together fairly quickly, I'd love to see the finished quilt! And thank you!
DeleteI love this quilt!!!
ReplyDeleteI really love this quilt, I am going to start and hopefully it will be finished by next Christmas. thank you
ReplyDeleteYou've got 12 months! You can do it! It's so easy and fun! Good luck!
DeleteI really love this quilt, I am going to start and hopefully it will be finished by next Christmas. thank you
ReplyDelete