Follow me on Pinterest

9.03.2013

Values Quilt

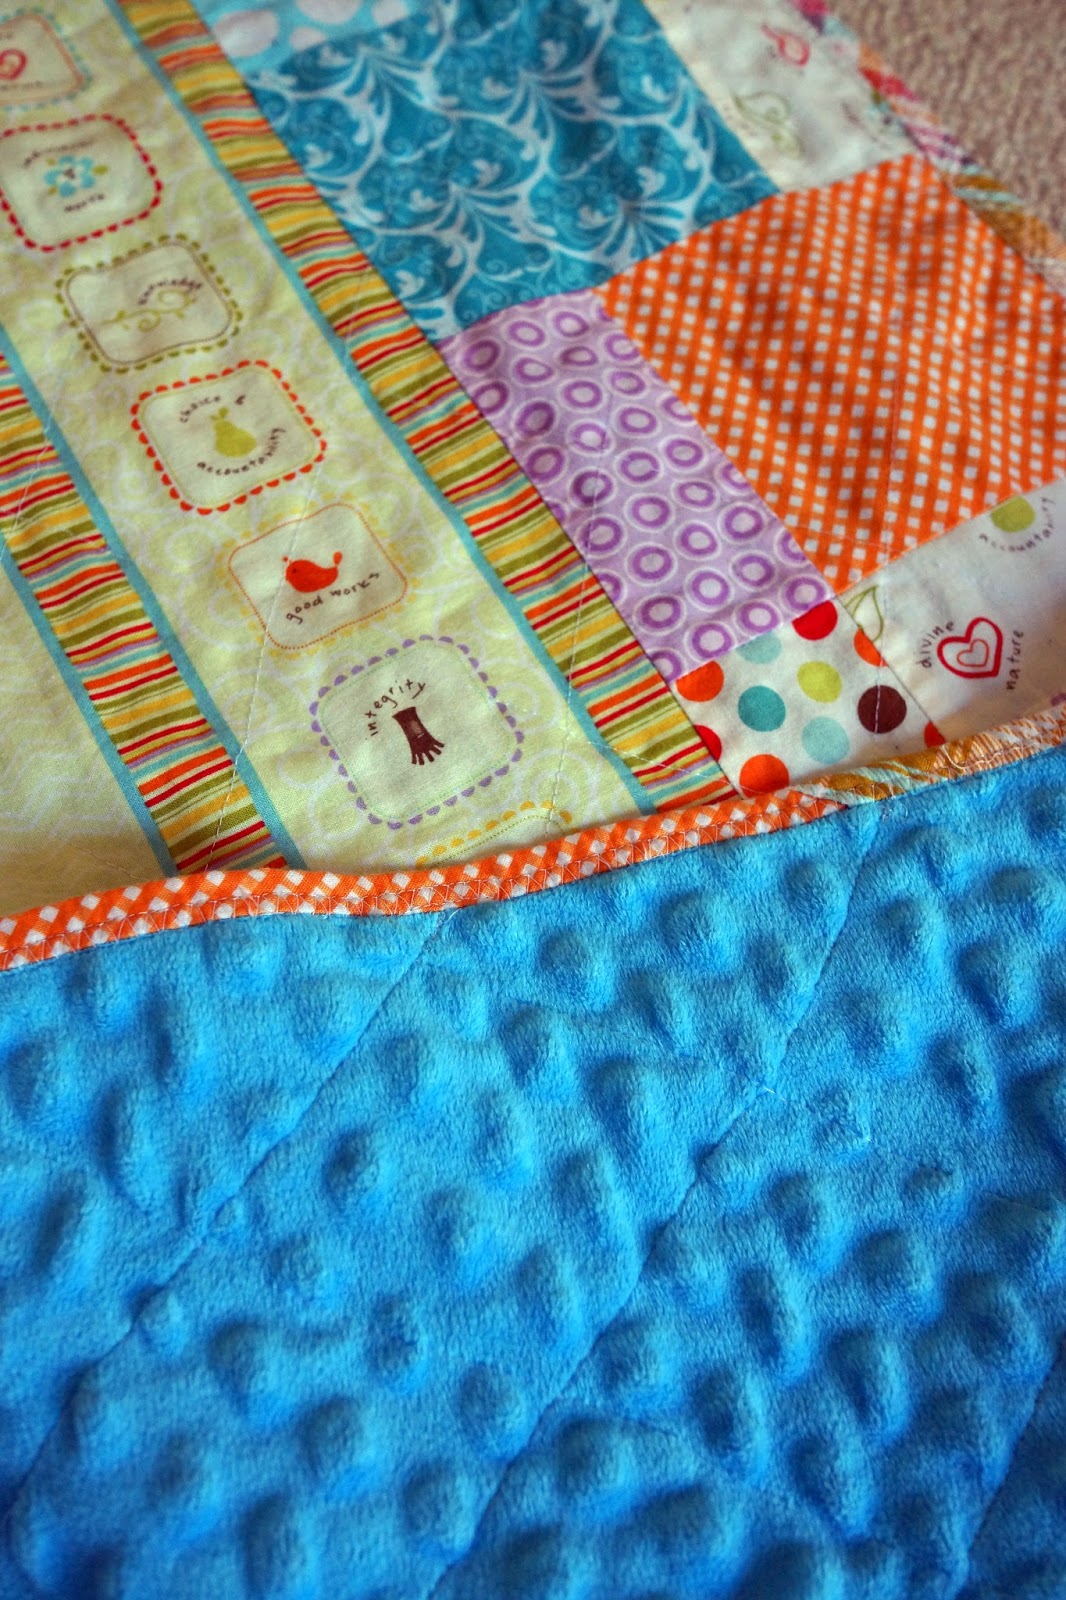
I love fabric from Riley Blake, I can usually find something SUPER cute from them, and their collections are GREAT. Well one day while I was perusing a fabric store I pulled out a panel with a fabulous tree on it (I really love trees, see this post if you need more proof). I had never used a panel before because it kind of felt like cheating. Then I saw that all along this panel were the Young Women values! Oh my goodness the cuteness was just out of control. I couldn't pass it up.

This quilt was SO fast. I've actually made 3 already and I have fabric to make 2 more (ya that's how cute it is!). The tree panel was NOT an even measurement so I decided to use a disappearing 9 patch so I wouldn't have to stress out about all the little 7/8 inches and such, I love this tutorial here 9 PATCH TUTORIAL.I loved choosing all the different colors and fabrics to go with this quilt. There were so many bright fun colors. Not all of these fabrics are from Riley Blake, I did venture out into other lines!

I  grabbed some minky for the back to make it super soft, and voila, Values quilt! If you're looking for this collection it is called, "The Good Life". I've bought it at 3 separate fabric stores, and if I saw it again, I think I would grab a few more panels. It's such a great gift for any of our soon to be or current Young Women!


I've done 2 different versions of this quilt. The 9 patch and a regular 5 inch square. I also got tricky and added my nieces name to her quilt. 

9.02.2013

Birthday Table Runner

I am a sucker for all things celebratory. I love holiday quilts, I am usually drawn to holiday items when I visit my fabric stores. When I saw this birthday cake, ice cream cone table runner, it was love at first sight! I have a special affection for cakes, since I am to cake making aficionado. This was going to be my 3rd quilt, but I didn't want to have to buy a lot of fabric. As you can see, there are a lot of different pieces and a lot of different colors. I wanted everything to look well together, I just didn't want to spend the money. I was pretty apprehensive about using mostly scraps and how it would turn out and look together. I did buy the cake fabric (look it's sprinkles!), and the ice cream cone/scoop fabric. Everything else, I hit up my mom's stash! 


I finished this quilt in September 2012. I didn't have a back for it until April 2013! Again, I didn't want to spend more money. My mom said that I should sew strips of fabric together to make a back. Sounded easy enough! This is what I ended up with, a back that is almost as cute as the front of the quilt!!! I really like the scrappy, colorful, happy back! Check out the quilt job. This is someone I used for the first time (my mom's friend). We dropped the quilt off around May and just got it at the end of August! Ha ha luckily I was in no hurry and she really took her time to quilt this beautifully. I love all the details, including the variegated thread on the back! I can not wait to use this for my next birthday celebration! 
Find the pattern here CELEBRATION TABLE RUNNER


9.01.2013

Curtains for under $20

I wanted to make curtains with leftover fabric that I had used for a table runner. I think they turned out cute and were easy to make. It took about 1 1/4 yard of 45" fabric and about 6" of contrasting fabric. First, I cut the main fabric into two 20" vertical pieces. The first piece I left the full width, and the second I cut to be 20" wide (so there is about 25" left over. After I cut off the 20" piece I cut it into two 10" wide pieces. Of the contrasting cut the width the same as the main piece but cut their vertical height 2". Second, sew each 10" piece to either side of the bigger piece. Sew the contrasting pieces the same. Turn contrasting under on 1/4" and press.
Third, mark bottom of curtain for placement of contrast. Mine is marked 4 1/2". I used my ruler and a chalk marker that I bought at a quilting store to mark a straight line. Sew contrast.
Fourth, turn ends (meaning each side of curtain) under 1/4", press, then turn under 1/2" and stitch.
Sixth, on bottom measure 1/4", press then measure 1 1/2" and press again. Stitch this down for hem. Curtains are done! It took me about two hours to complete this project.