Follow me on Pinterest

Showing posts with label fall. Show all posts

10.25.2014

Decorating for Fall

I'm pretty, basically, completely obsessed with Fall. 
The colors.
The clothes.
The warm soups and hot cocoas.
The sound of crunchy leaves.
The fall food! Brussels sprouts, squash, pomegranates, apples, and let's not forget PUMPKIN!

Obviously, I was more than ecstatic to decorate my newly built shelf with all my Fall decor.


11.01.2013

Thanksgiving Wall Hanging

I've decided to make a wall hanging for every month! Now that it's November 1st, I've already got my Thanksgiving one ready to go. I started with the same background as my Halloween wall hanging 
Cut out  35 squares that are 4 1/2 inches by 4 1/2 inches. or to save on wasting cute fabric, I 26 squares and made 3 srips that we 4 1/2 inches high by 12 1/2 inches long.
 I then drew my pumpkins on freezer paper, making sure they were big enough to cover up my three middle strips that I didn't want to show.
Cut out your pumpkins and your stems.
 After I cut out my pumpkins I added a layer of batting to fluff my pumpkin. Use your freezer paper cut out, pinning it to the batting (don't iron it on!! It will pull and stretch the batting when you take it off). Cut it a little smaller so that it won't poke through when you sew it on. 

 Now pin the pumpkin onto your background, pin it really , really well so it won't move around. You can use basting spray if you want it really secure.
 I zigzag stitched my pumpkins on using my machine, tucking the stems in before sewing the tops of the pumpkins. 
 I decided that it needed a little something more. I couldn't decide between "Give Thanks" or "Be Thankful". I really wanted to go with "Give Thanks" since it was shorter and therefore less work, but I like "Be Thankful" more. I printed it out from my computer using the font I liked. Cut the letters out, using regular scissors. I left a little around the edges so my letters would be a little fatter, making it easier to sew on.
 I pinned the letters to my fabric (I don't know who Ben is, but he fit perfectly on my strip), then cut them out with my sewing scissors.

 
 Now pin them to your fabric 
 Very, very carefully stitch you letters on with a zigzag 
 Once I had my letters on, I realized that they blended in a little too well with the rest of my quilt. I decided to stitch an outline around them in black. If I had been smarter, I would have done this when I zigzagged.. So I spent the morning hand stitching (I'm a slow hand stitcher). Next time I will use a more contrasting fabric so I don't have to hand stitch, or I will use a darker thread when I stitch it on. 
 Once I had the outline around my letters it was time to machine quilt! I wanted my pumpkins to have a different deign and different colored thread (I like to make everything super complicated for myself!). I used a chalk pencil to sketch what I wanted to do, if you look closely you can kind of see.  
 Love the crisscross quilted stitch on this pumpkin. 
 Finish quilting and bind it, and ta-da! Thanksgiving here we come! I can't wait to make all my favorite Thanksgiving foods! 

10.22.2013

Reversible Fall Table Runner

Reversible Table Runner

After I made my cute pumpkin wall hanging (PUMPKIN) I realized something... I HATED wasting the fabric for the back of something that was only going to be used during Halloween. I decided that for my next Holiday project, I would make something that was reversible.That way I'm not buying extra fabric just to put on the back, the back that will never be seen! I had fabric that I wanted to use for a matching Halloween table runner, I just needed Thanksgiving prints to make the back. I had no problem going to the fabric store and finding! Here's what I did.

 Decide how long and how wide you want your runner. I cut out all different widths for my strips. varying between 4 1/2 inches wide and the smallest was 2 inches wide.

 After you cut out your strips, sew them together in the order you like. This will be the "back" of the quilt (which I will refer to as the Halloween side). You can also do this with a solid piece of fabric if you want a solid back.
Next, cut out your front fabric (Thanksgiving side) in strips. They can be the same width as the ones you used for the back or you can change it up. Just make sure it's going to be the same length and width as the back you just sewed together. For example, with my Halloween fabric I had 2 strips that were 2 1/2 inches, but for my Thanksgiving fabric I decided to cut one strip that was 4 inches (taking into account seam allowance) instead of two 2 1/2 inch strips.

After you have all your strips cut out, cut a piece of batting to fit your runner. Pin it to the back side of the Halloween fabric.

  IMPORTANT- Cut the batting off EXACT with the top piece of your first strip, you will line this up with your next strip and you want it to be as exact as you can get it. Don't leave any overhang (overhang is fine everywhere else)
You're ready to start sewing (again). Take your first strip of Thanksgiving and lay it right side up, on top of the batting, matching it up to the edge we just cut, and sew 1/4 inch seam.  Remember, your Halloween fabric will be right side up on the bottom, you are sewing this strip to the batting and to your bottom fabric.
Once you finish that, add another strip wrong side down on the orange and sew 1/4 inch seam

 OK now this gets tedious, but it is important. You MUST iron after every strip. Press the seam, then open the fabric and press again. You want the strips to be flat and straight before you continue adding to them. Don't skip this, even though it means you have to sew, get up, sew, get up, etc.. It's good exercise.


Woo-Hoo look at it coming together!
This is what we will have once it's complete. Trim the edges, and add the binding. 
 Now go put it on your table and show it off! 
I fell even more in love with the tree fabric after making this. It's SO adorable! 


 I'm so happy that I can flip this over for Thanksgiving! It's two projects in one sewing session! 


10.10.2013

Pumpkin Wall Hanging (with movable eyes!)

Quilted Pumpkin Halloween Wall Hanging 


Start with 20 Halloween fabrics that are cut 4 1/2 inches by 4 1/2 inches. I used a lot of Halloween fabric I had been collecting. These will be for your borders. 
 You need 15 black pieces that are 4 1/2 inches by 4 1/2 inches. I cut 6 - 4 1/2 inch by 4 1/2 inch and one black piece that was 12 1/2 inches by 12 1/2 inches since I knew it would be covered by my pumpkin, I didn't want to do the extra work! You could cut one black piece that is 12 1/2 inches by  20 1/2 inches, if you want to do even less work. 

Sew your pieces together as shown. The black will be the center and all the fun Halloween prints will border the quilt
I drew my pumpkin on freezer paper, made sure he fit where I wanted him, and then I cut him out. I ironed my cut out onto my orange fabric for easy cutting (I used 1/2 yard of orange), and cut him out leaving 1/4 an inch around the boarder.
I'm not a professional appliquer so I'm not going to give detailed instructions. Basically for the eyes and nose, I left the edges raw and zigzag stitched them on. I cut out batting to add to the back of my pumpkin to make him extra soft. I turned the edges under and then zigzag stitched the pumpkin onto my background


After my pumpkin was on, I cut out the back of the quilt and the batting, basted them together with my spray, and hand quilted using my machine. I sewed some rick rack around the border, and bound it. 
So what about the eyes? I couldn't decide where to put them. The solution, I hot glued some heavy duty magnets to the back on my buttons, and now I can move the eyes wherever I want! I love that my pumpkin can have so many faces!  


10.03.2013

Fall Photo Shoot

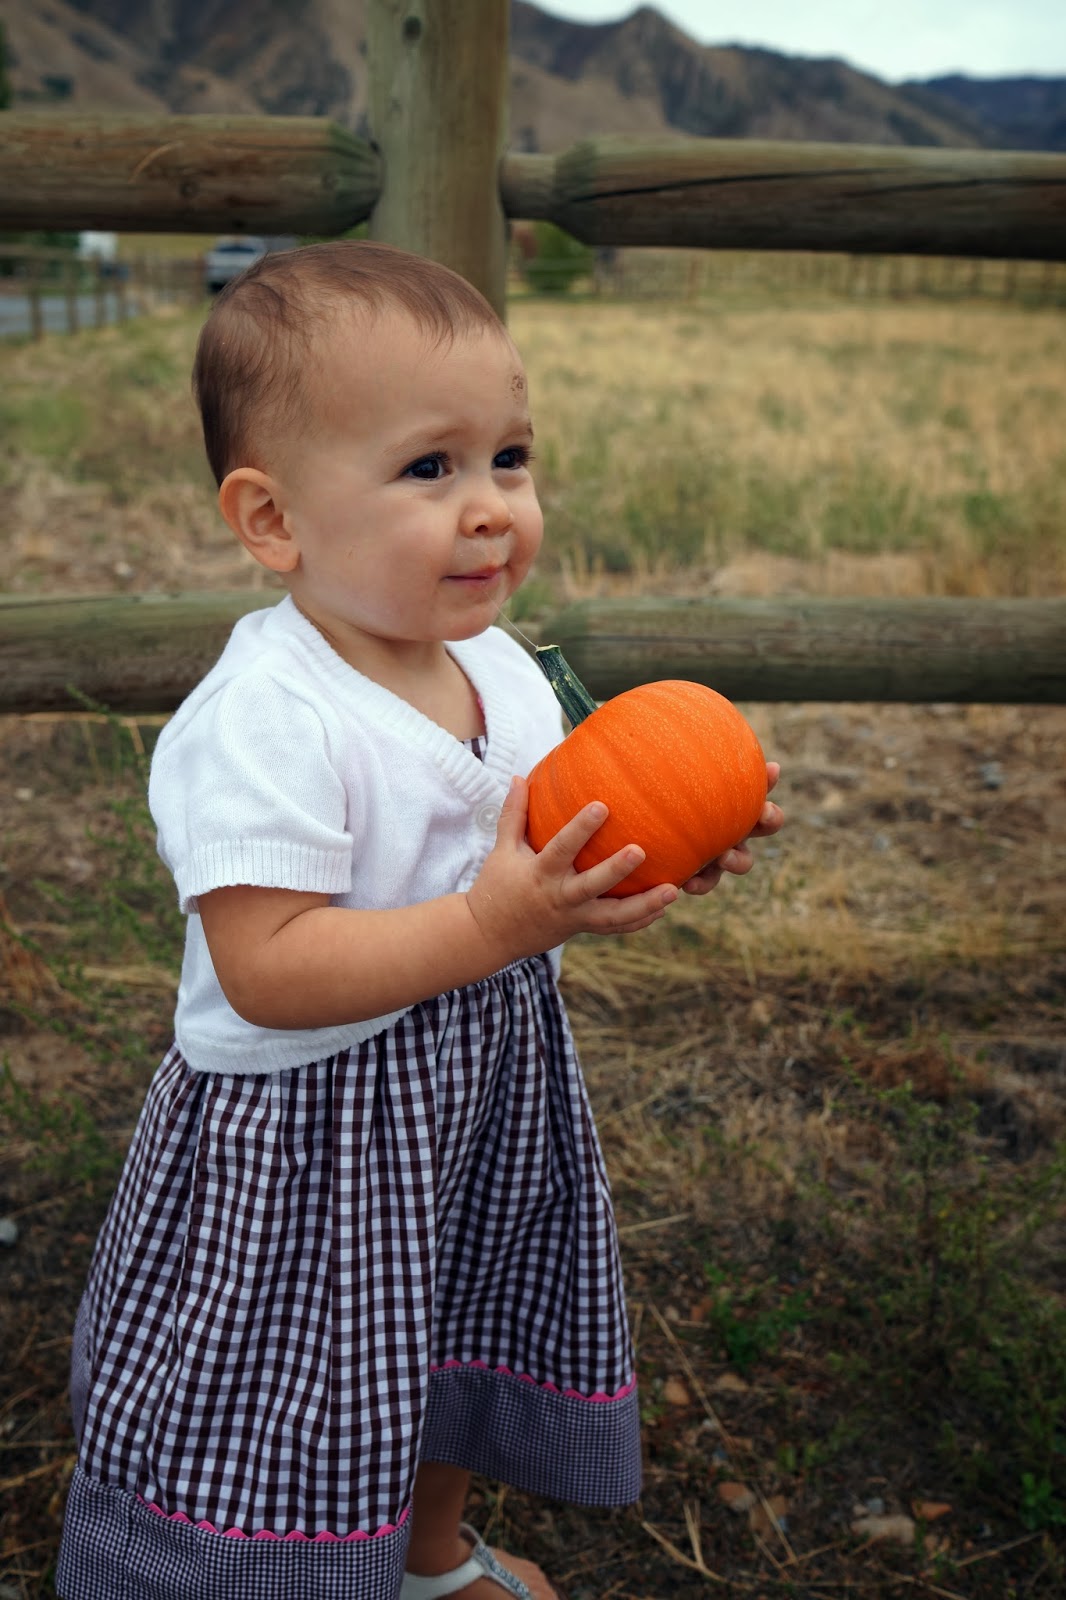
 Photographing kids can be extremely difficult! Every time I visit my family I try to get cute pictures of all the kids. Sometimes it's hopeless, sometimes I get a few good ones, and other times I get a lot of good ones! This photo shoot we had to bribe with candy, cheetos, and toys. I think it worked out well. Here is the advice I have for trying to get cute pictures of kids who don't want to cooperate! 
 1- You don't need to travel far from home to get nice pictures. We took these in my brother's neighborhood, because we didn't want the kids to have to sit in a car or get fussy before we started. I love this picture of my cute little Rue standing by the neighbor's fence with the mountains in the background. Or this picture of cutie Ez holding his toy and looking happy as can be. He's smiling because he has his toy, not because he likes to cooperate!! 

 2- PROPS! I grabbed this baby pumpkin off my Brother's porch at first I thought I could use it to distract the kids into smiling, but then I thought "hey it is fall they might as well hold it". And they do look super cute holding it in the pictures! Especially Ruby who kept calling it an apple! 
 3- Take candid shots. There are SO many cute photos out there that are completely staged. I'm a little jealous because I don't know how people get a toddler to look, and smile, and play with the right item to create the perfect photo. I'm not a professional, so maybe there is a secret, but I've had to learn that candid photos are just as cute as the super staged cute photos. That doesn't mean I won't give up trying to get that perfectly staged shot. I just have to work harder by running around, getting different angles, and always having my camera on and ready to capture the cute little moments. 
 Ruby and her sunflower
 Alex and Ezrah being buddies

 Trying to get Ruby to smile